Here are instructions for how to add custom wallpapers to your Ford Sync 2.0 with My Ford Touch. The default background is solid black backdrop. There is a logo.jpg stored of the Ford blue oval logo. You can also add your own.
When adding your own you are prompted that the file must match the following requirements:
- File must be less than 1.5Mb
- File must be a .jpg .png .gif or .bmp – I suggest either .png or .jpg
- Maximum of 32 images can be loaded into the car’s memory
- Pixel Dimension of image must be 800×384
Using your favorite graphics editing program you can create your images. I use Gimp to the specifications listed above.
Once you have your image created, copy it to a USB Flash Drive. The Flash Drive needs to be formatted with the FAT32 File System.
With your image(s) on your flash drive head to your vehicle and follow these steps:
- Insert USB Flash Drive to the USB Port
- Turn on the car to accessory power
- Press the Settings button (Gear Wheel Icon)
- Tap Display from the left column
- Tap Edit Wallpaper
- Tap Add
- Tap through to find file on USB Device
- Tap each file you want to add it will be saved to Sync
- Tab the back button to the Wallpaper Editor screen
- Tap one of your added images, then tap Save
- Tap the home button to see your artwork!
I have a video on Youtube below as well, with the in car process:
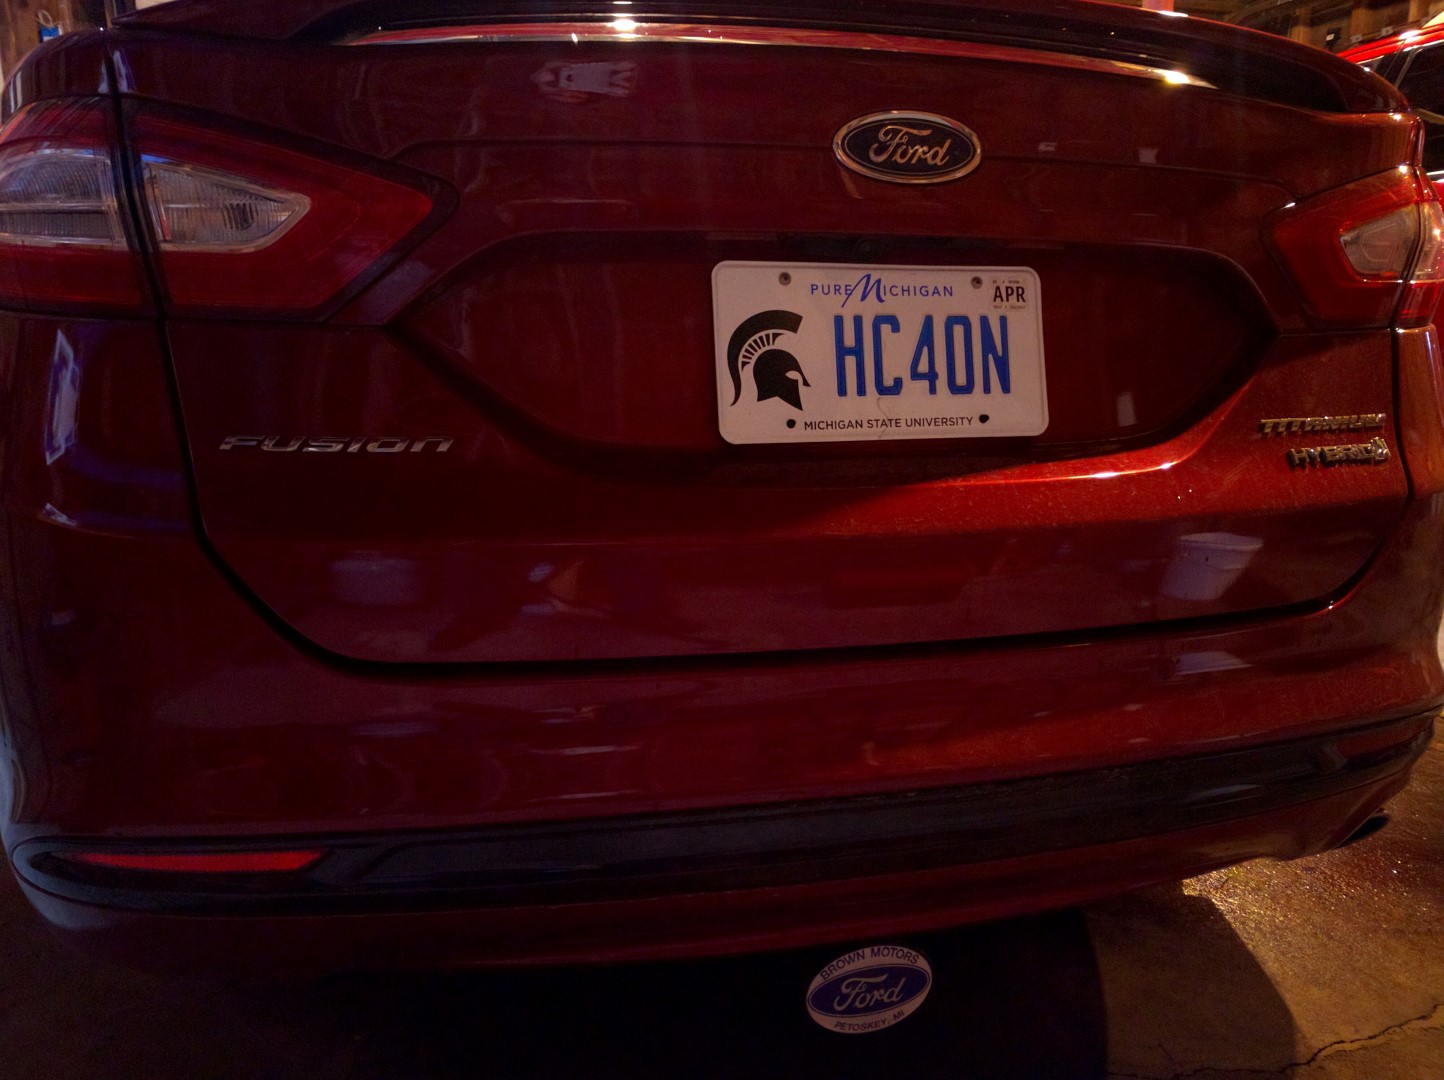
To make it all MSU Spartans all around after my Sync wallpaper addition, top it all off with my new snazzy MSU plate with some Pure Michigan:

You can also download the wallpapers below. Some of them were images I found on the internet and modified to fit the specifications required by Ford.